How to Run a Reaction of Iron Wire with Oxygen Class in a Virtual Lab Simulation
A step-by-step teaching guide for the iron wire in oxygen experiment using a VR Chemistry Lab. From the opening question to the safety comparison with and without water — keep the inquiry while removing logistical and safety pressure.
Running a hands-on chemistry experiment with junior high students takes preparation, caution, and perfect timing. Teachers must gather equipment, check safety rules, and hope that the reaction happens on cue while every student is watching. With a virtual lab simulation, the same lesson becomes more flexible. This guide shows how to teach the reaction of iron wire with oxygen inside a VR Chemistry Lab, from the opening question to the closing summary. The goal is to keep the experiment as a genuine inquiry while reducing the logistical and safety pressures that often push teachers toward lecture-only instruction.
Step 1: Set the Question
Begin by asking students why iron rusts slowly outside but can burn explosively in some conditions. Let them predict what will happen when a hot iron wire is placed in pure oxygen. Encourage them to connect the observation to everyday examples such as steel wool burning in a flame. Display the VR Chemistry Lab interface so the class can see the two purposes of the experiment: comparing phenomena and understanding the effect of oxygen content. This opening question gives students a reason to care about the procedure that follows.
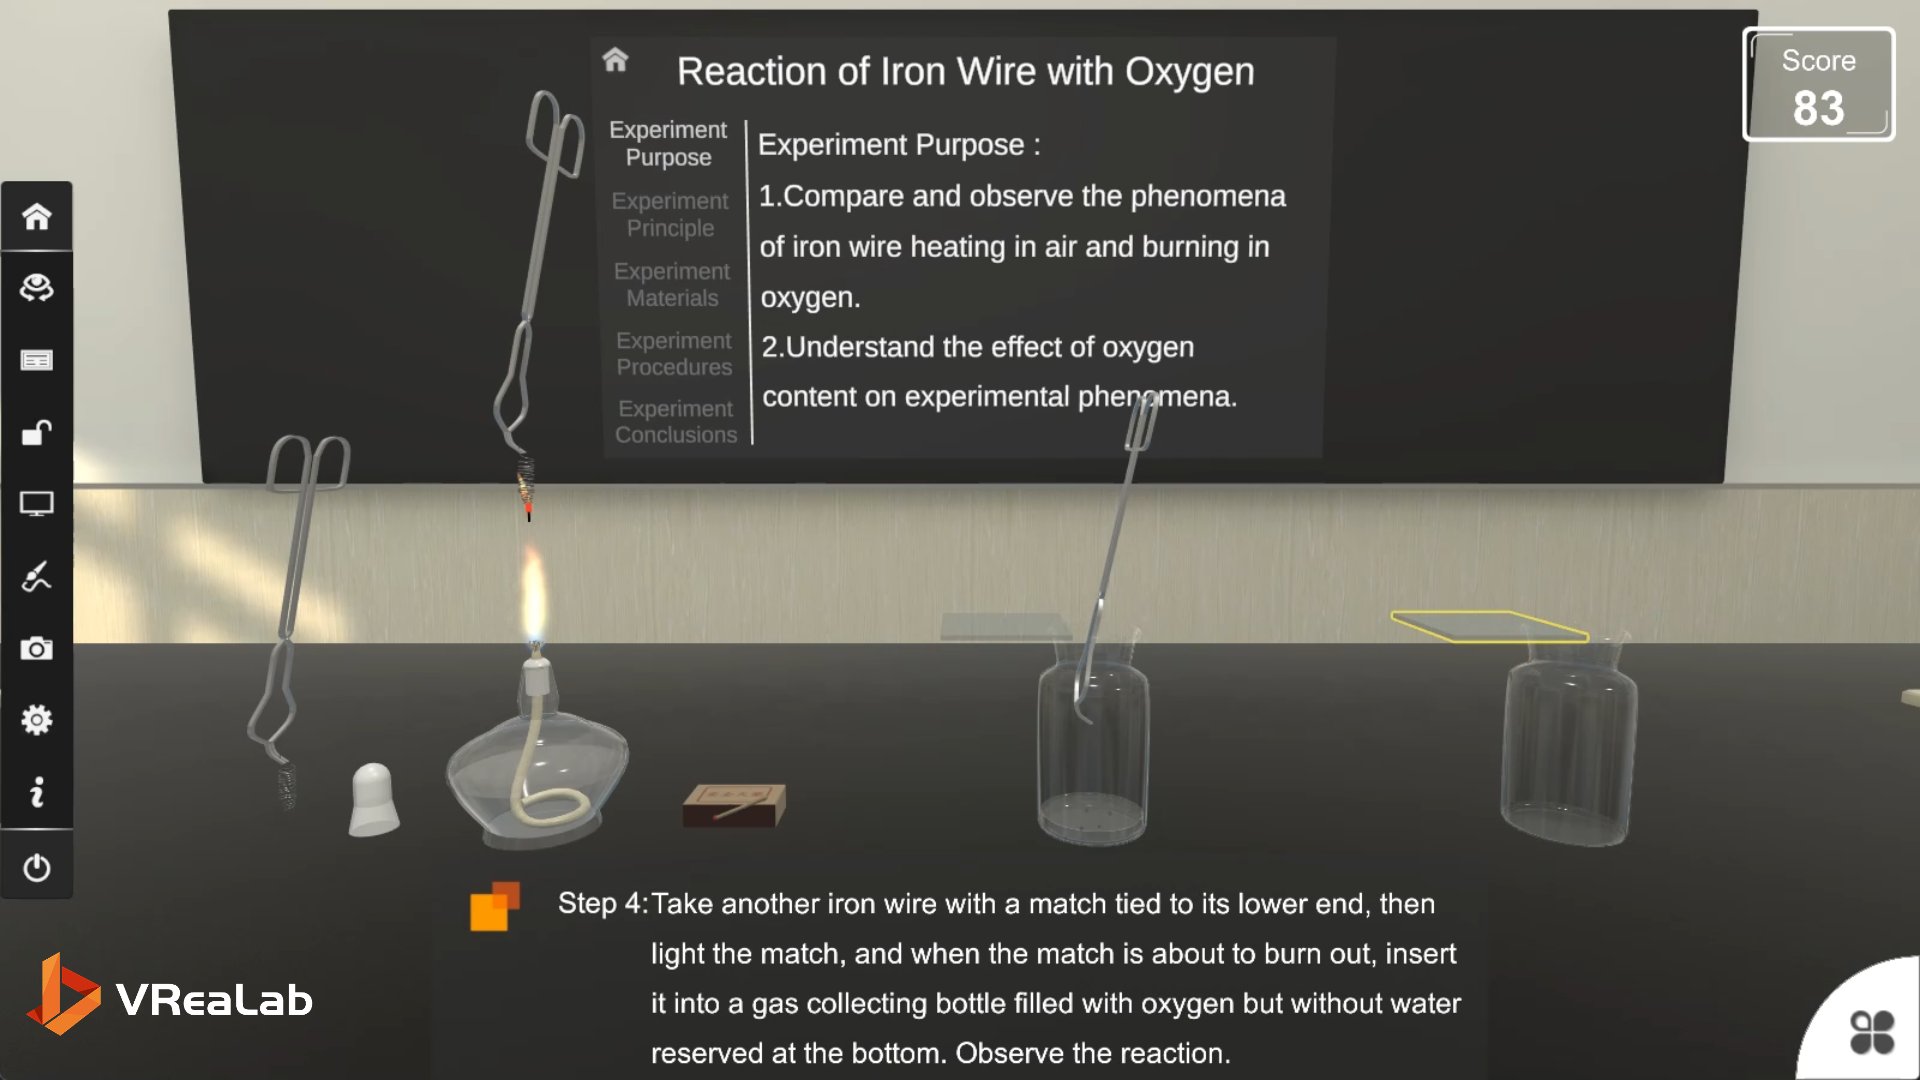
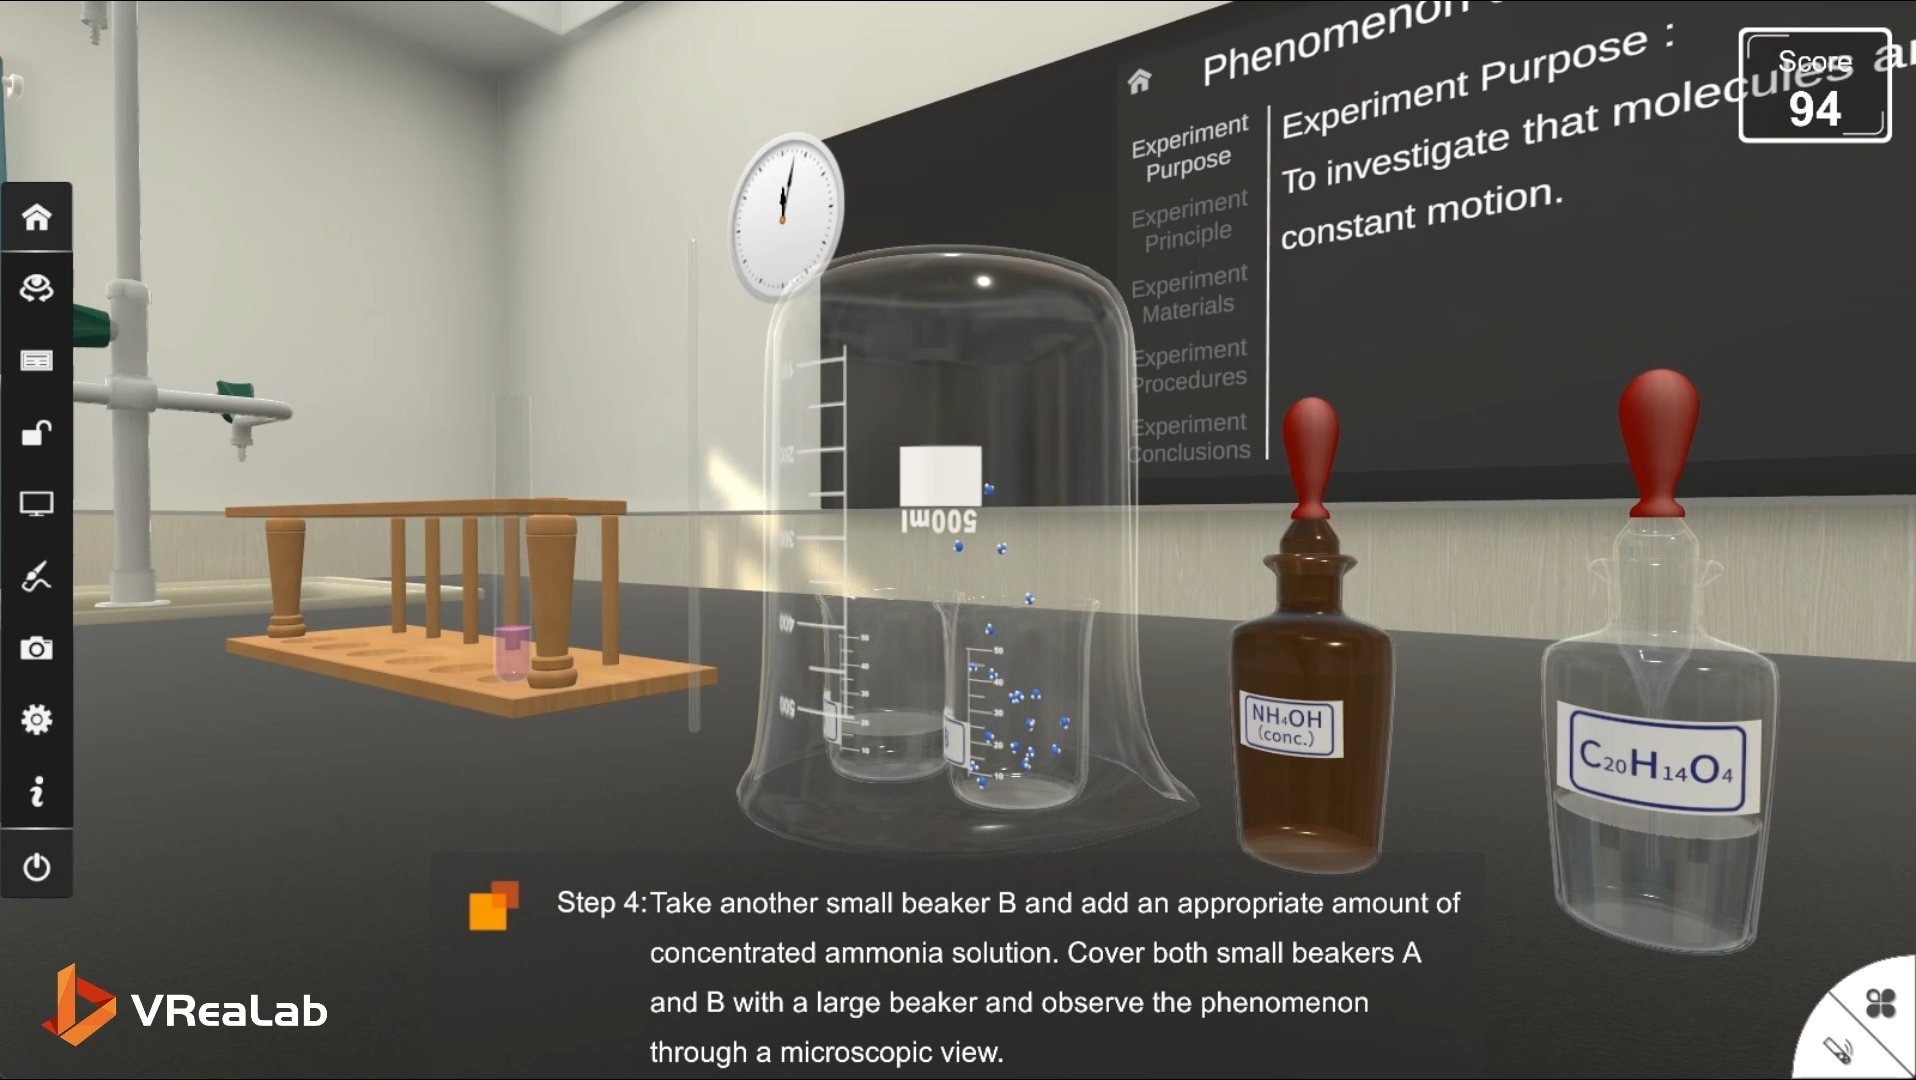
Figure 1. The full virtual lab simulation bench, ready for the Step 4 comparison between bottles with and without water.
Step 2: Demonstrate Air Heating
In the virtual lab simulation, light the alcohol lamp and place the coiled iron wire above the flame. Ask students to describe what they see. The wire glows red, but there are no bright sparks because the oxygen concentration in air is only about twenty-one percent. This establishes the baseline for the comparison. Pause here and ask why the reaction is limited. Students should recognize that air contains mostly nitrogen, so only a small fraction of the gas can actually support combustion. This pause is important because it sets up the dramatic contrast that follows.
Step 3: Move to Pure Oxygen
Next, guide students through the procedure for the oxygen trial. They attach a match to the lower end of the iron wire, light the match, and insert the wire into the gas collecting bottle just as the match is about to burn out. Timing matters: if the match is too fresh, it will burn too long; if it is almost out, the iron may not ignite. Inside the VR Chemistry Lab, the reaction produces bright sparks and a clear shower of light. Every student can rotate the view and watch in slow motion if needed. Because the scene belongs to each learner, no one is stuck in the back row hoping to catch a glimpse.
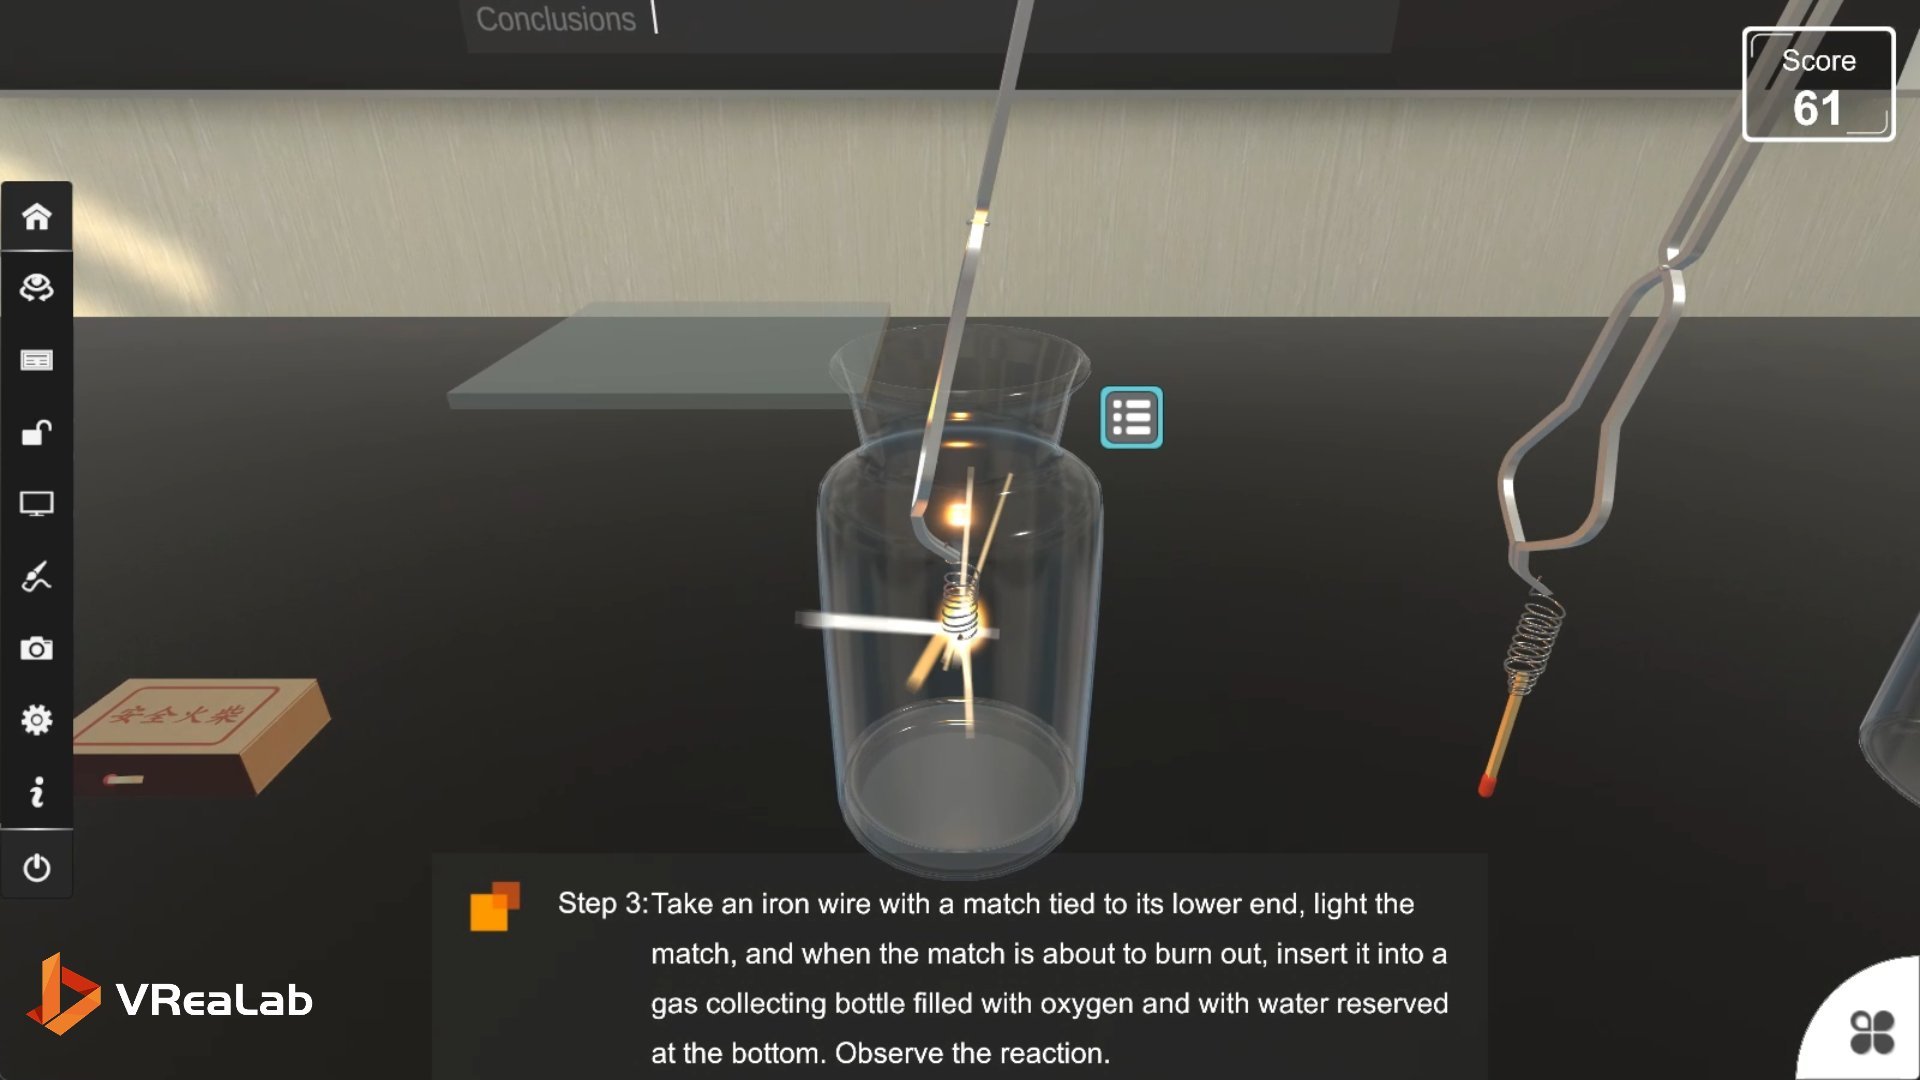
Figure 2. Step 3 close-up: the iron wire burns intensely inside the oxygen-filled bottle in the virtual lab simulation.
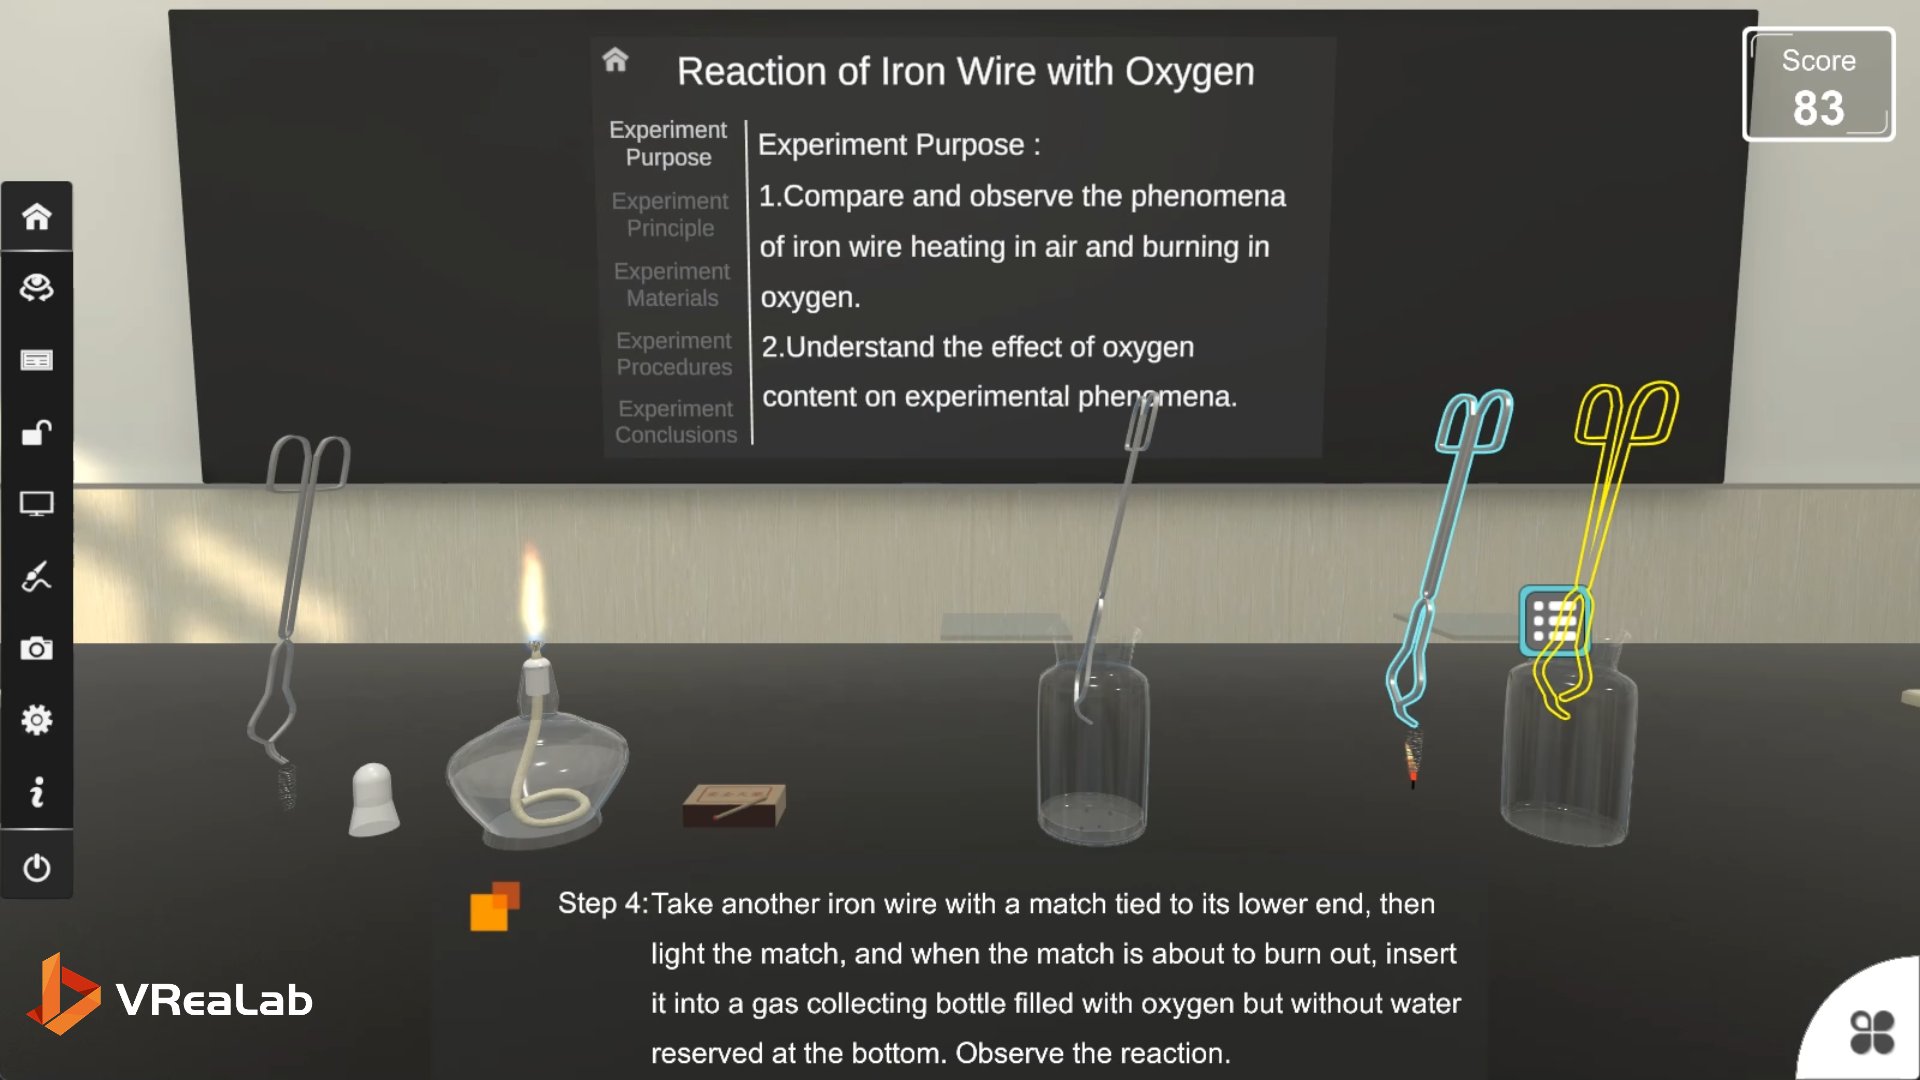
Figure 3. Step 4 setup: comparing the oxygen bottle with water against the bottle without water.
Step 4: Compare With and Without Water
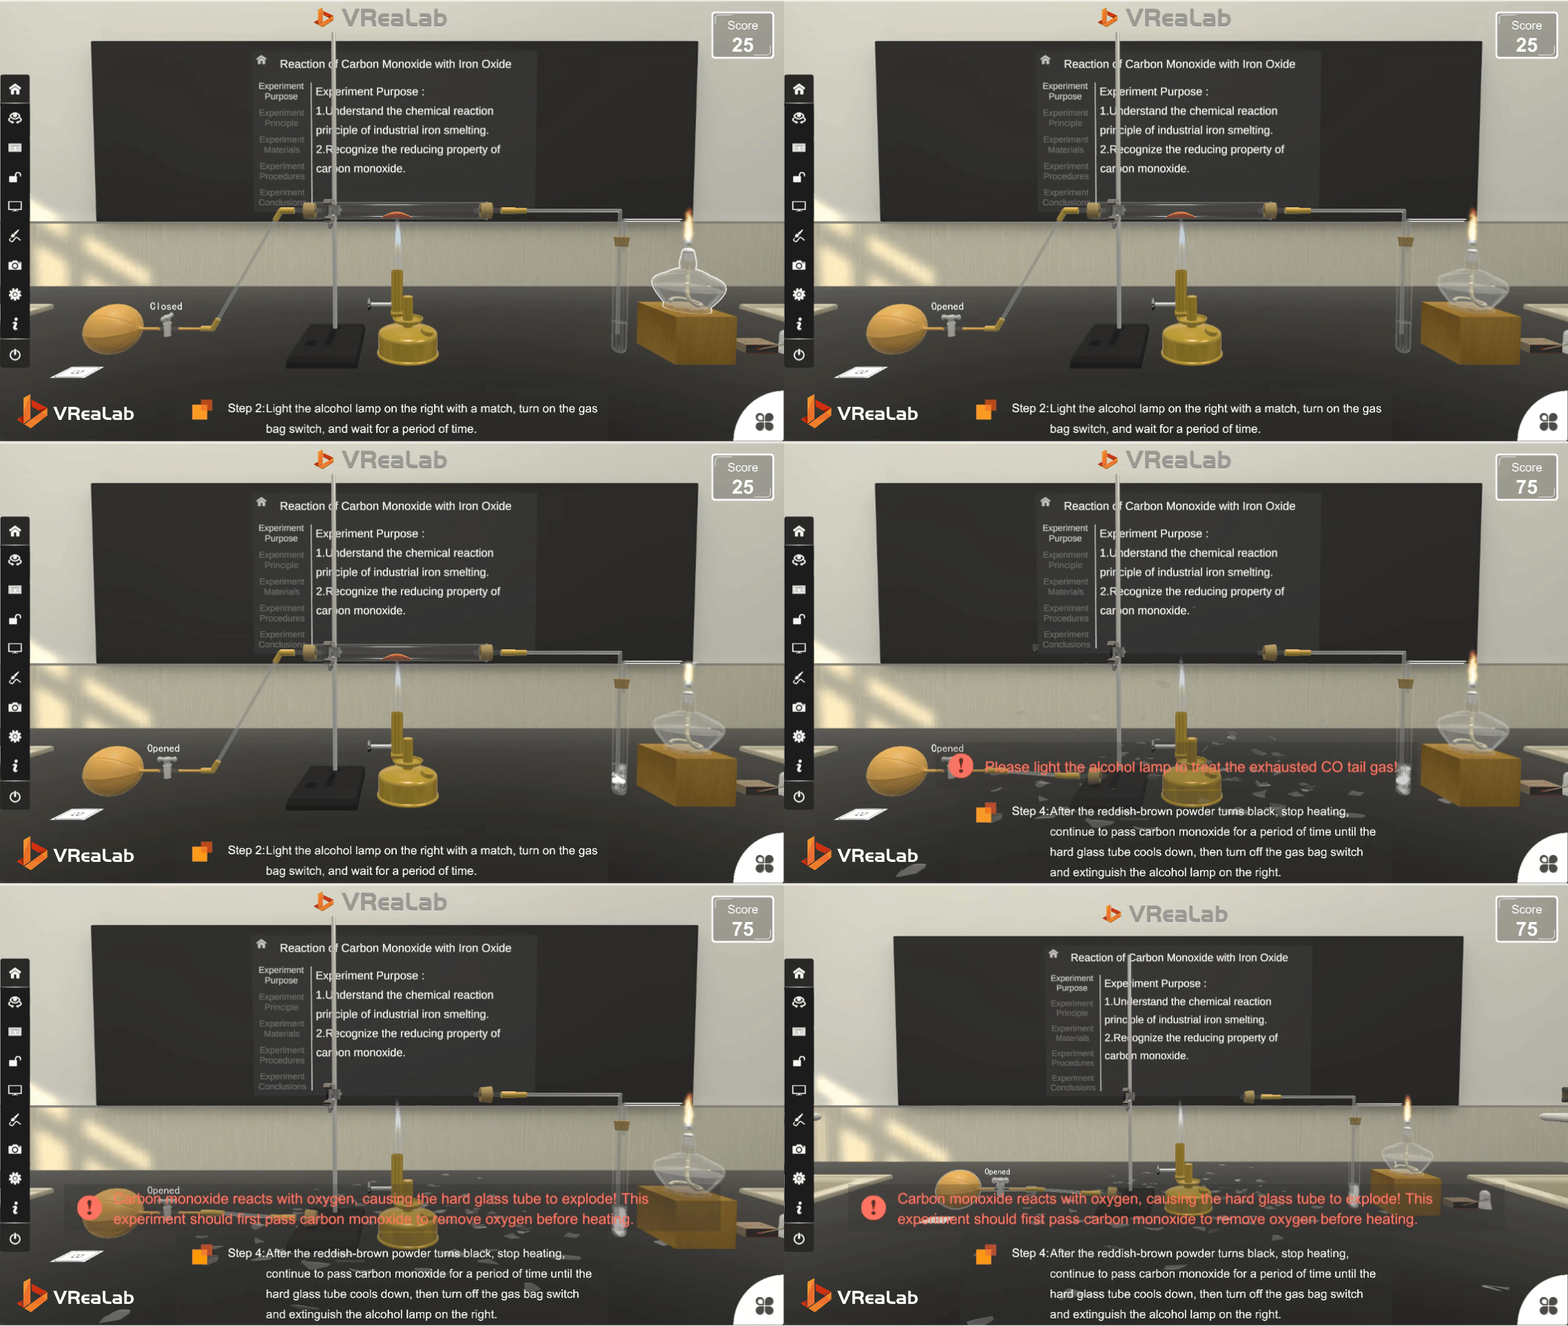
The most valuable teaching moment comes from the controlled comparison. In one bottle the bottom is covered with water; in the other it is dry. Run both trials in the virtual lab simulation. Ask students to observe the glass in each case. When the dry bottle cracks, the simulation delivers an immediate warning: the water is not an optional detail; it protects the equipment by absorbing heat from the falling sparks. This is a powerful safety message. Students remember the cracked bottle far longer than a verbal reminder, and they understand that laboratory rules exist for real physical reasons.
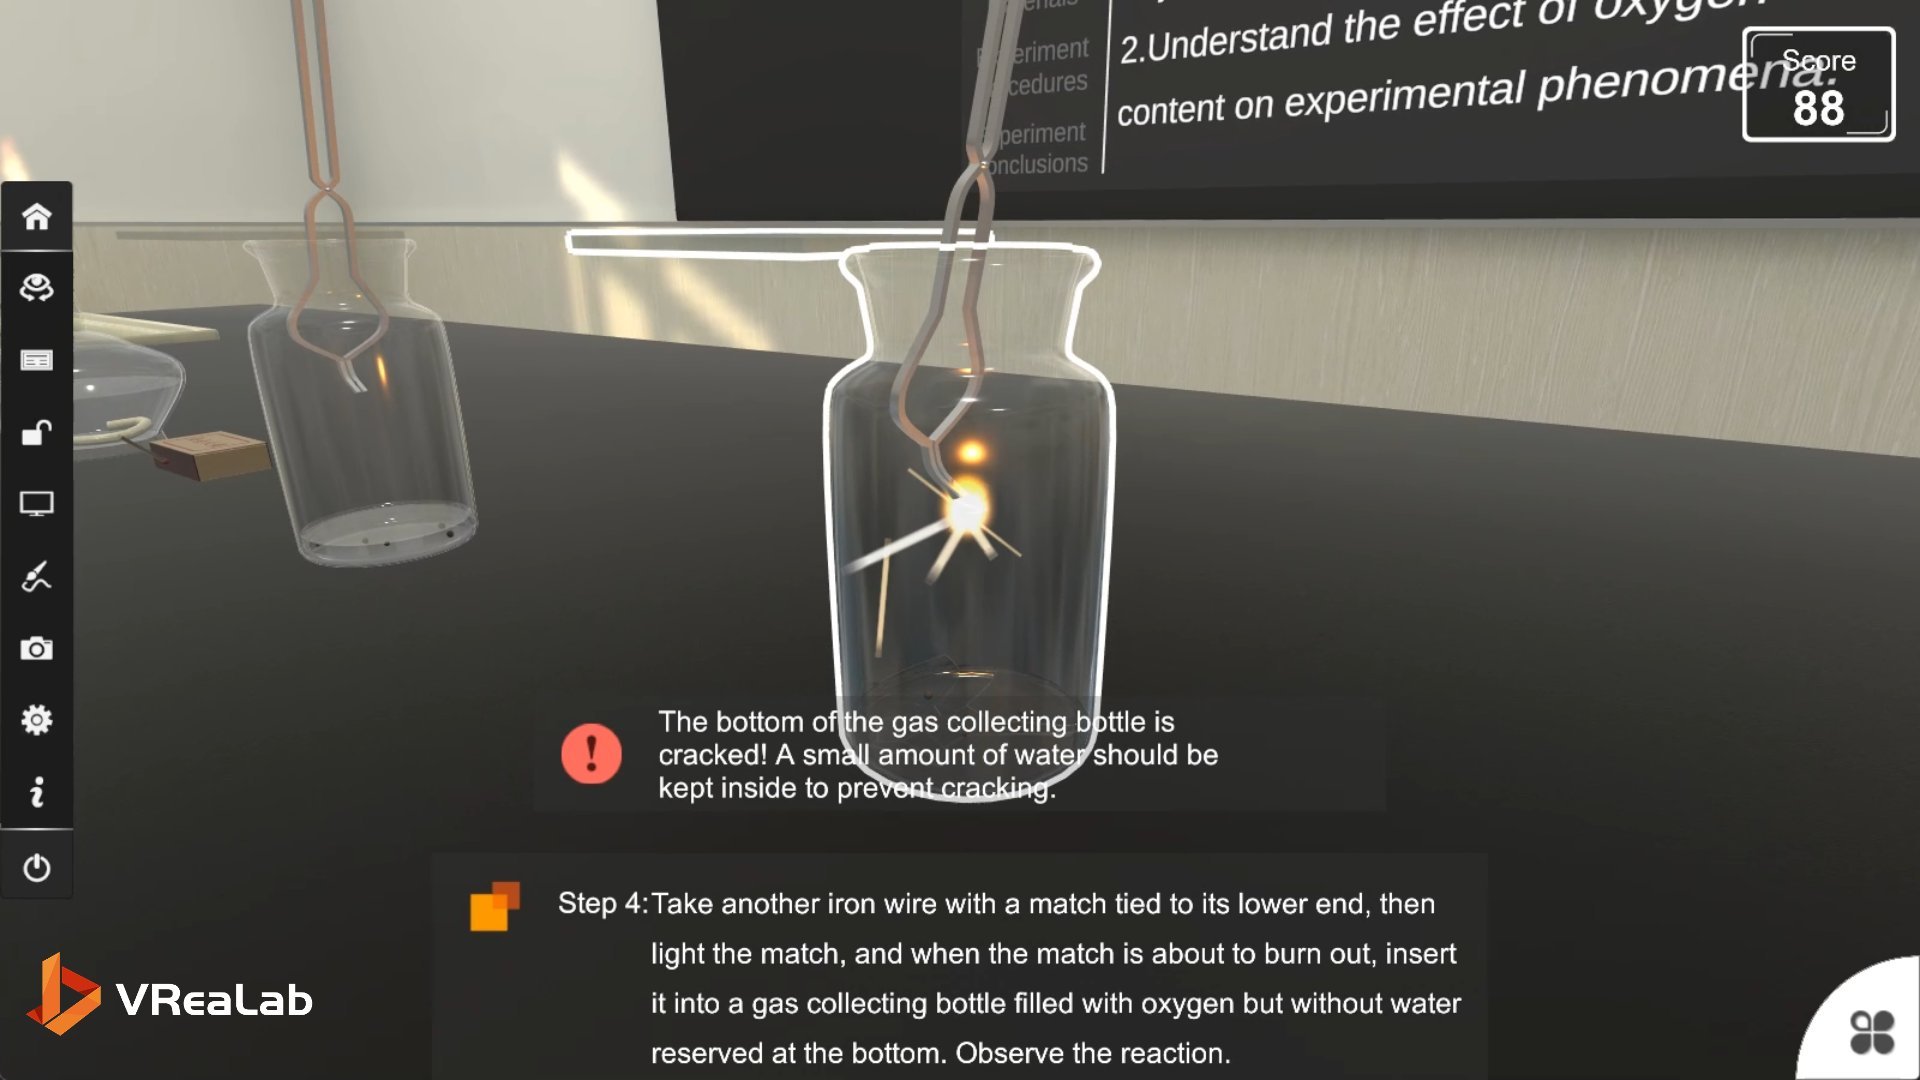
Figure 4. Safety feedback inside the VR Chemistry Lab: a cracked bottle reminds students why a small amount of water should be kept at the bottom.
Step 5: Consolidate the Learning
Close the lesson by returning to the original question. Students should now be able to explain that higher oxygen concentration makes combustion faster and more violent, and that experimental details such as the water layer are part of safe scientific practice. Ask students to summarize the comparison in their own words and to predict what would happen if the oxygen concentration were even higher. In a VR Chemistry Lab, this understanding is built through direct observation, repeated practice, and guided comparison, exactly what a well-run virtual lab simulation should provide. The class ends with a shared visual reference that students can revisit on their own devices whenever they need to review.