Visualizing the Rules of Image Formation by a Convex Lens in a VR Physics Lab
Convex lens imaging is a fragile topic in middle school physics — delicate alignment, faint images, and impossible boundary cases. A VR Physics Lab turns it into a visual, measurable, and repeatable experience where every student sees the rules unfold firsthand.
Convex lens imaging is one of those topics that every middle school physics teacher knows is fragile. The rule table looks simple enough: when the object is beyond twice the focal length, the image is minified and inverted; between one and two focal lengths, it is magnified and inverted; within one focal length, no real image forms on the screen at all. But the experiment behind the rule is delicate. A real optical bench needs careful alignment, a darkened room, a patient hand, and a screen image that is often too faint for the back row to see. Worse, the most interesting regime, the one just beyond the focal length where the image distance explodes, is almost impossible to demonstrate safely on a real bench a meter long. In the VR Physics Lab built into the Middle School Physics, Chemistry and Biology VR Learning Device, the whole experiment becomes a visual, measurable, and repeatable process that every student can watch from the best seat in the house.
Step One: Assemble the Apparatus Without Frustration
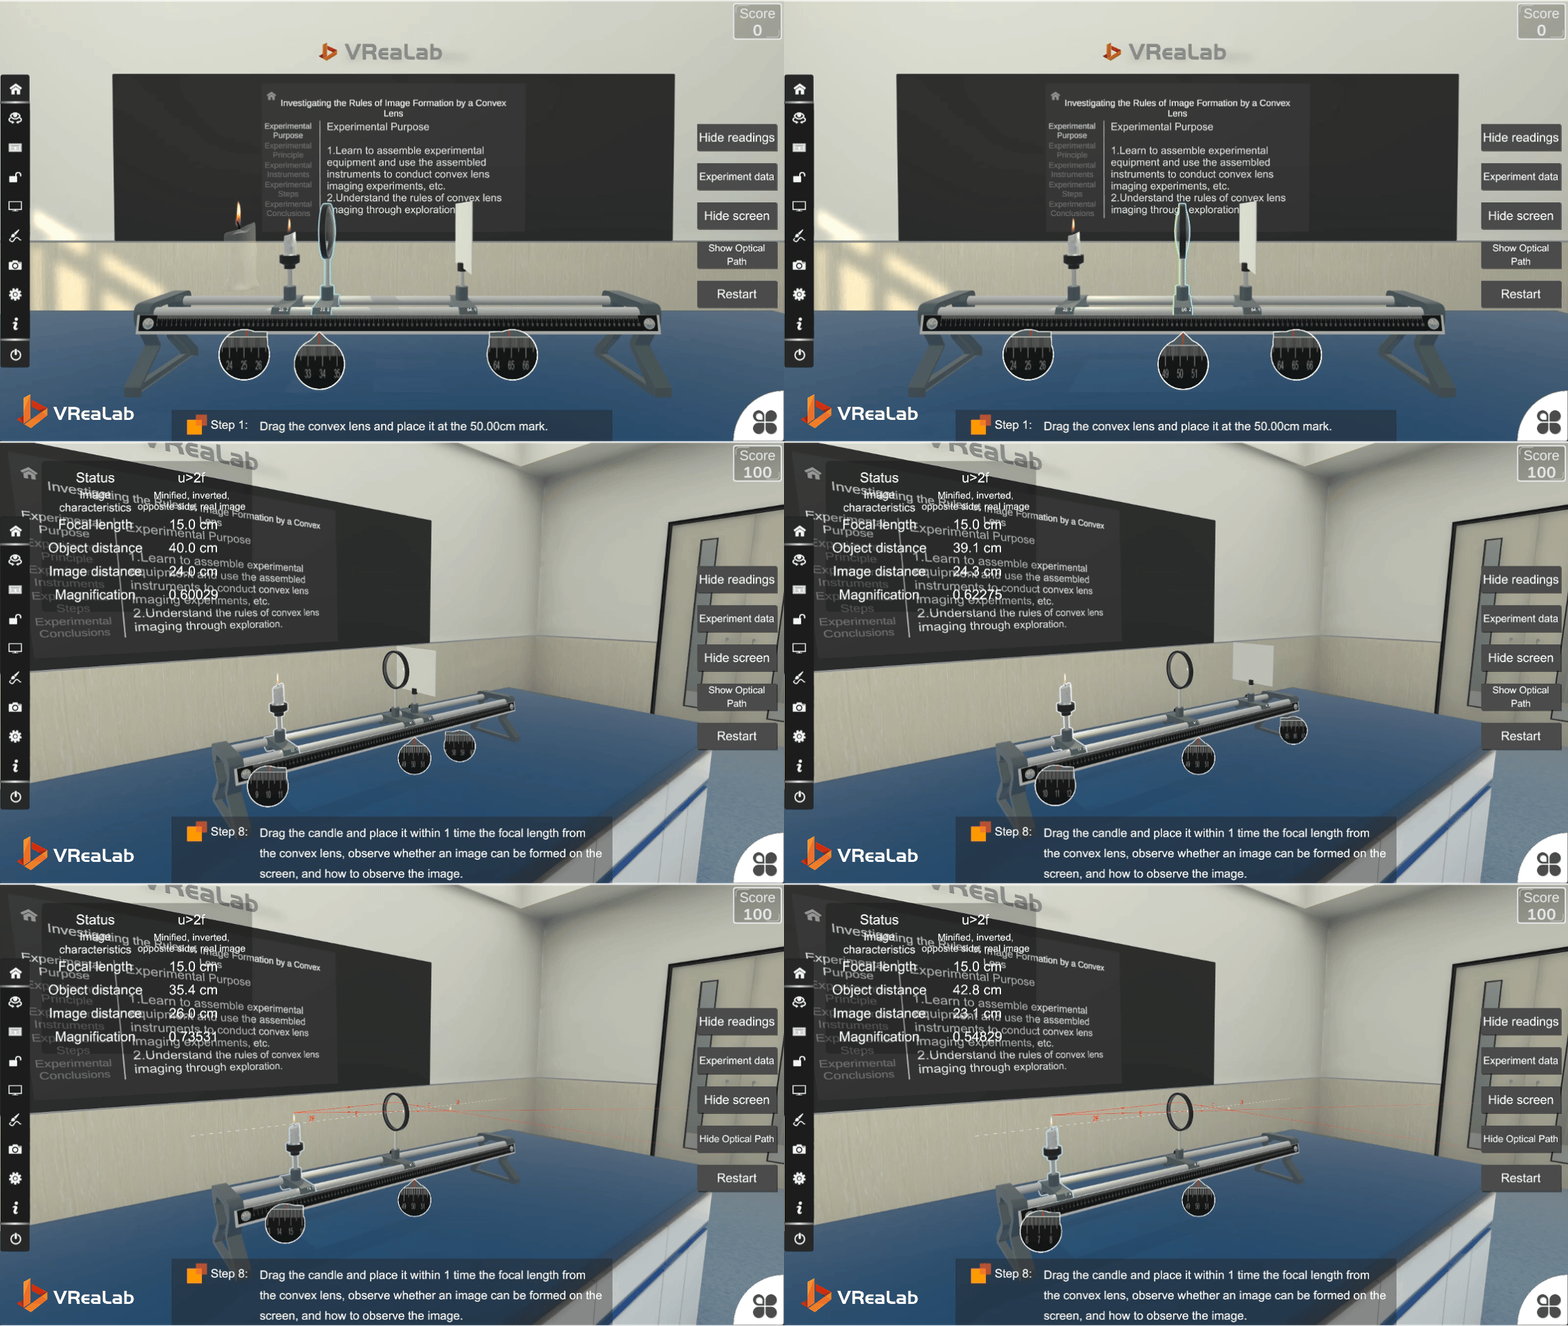
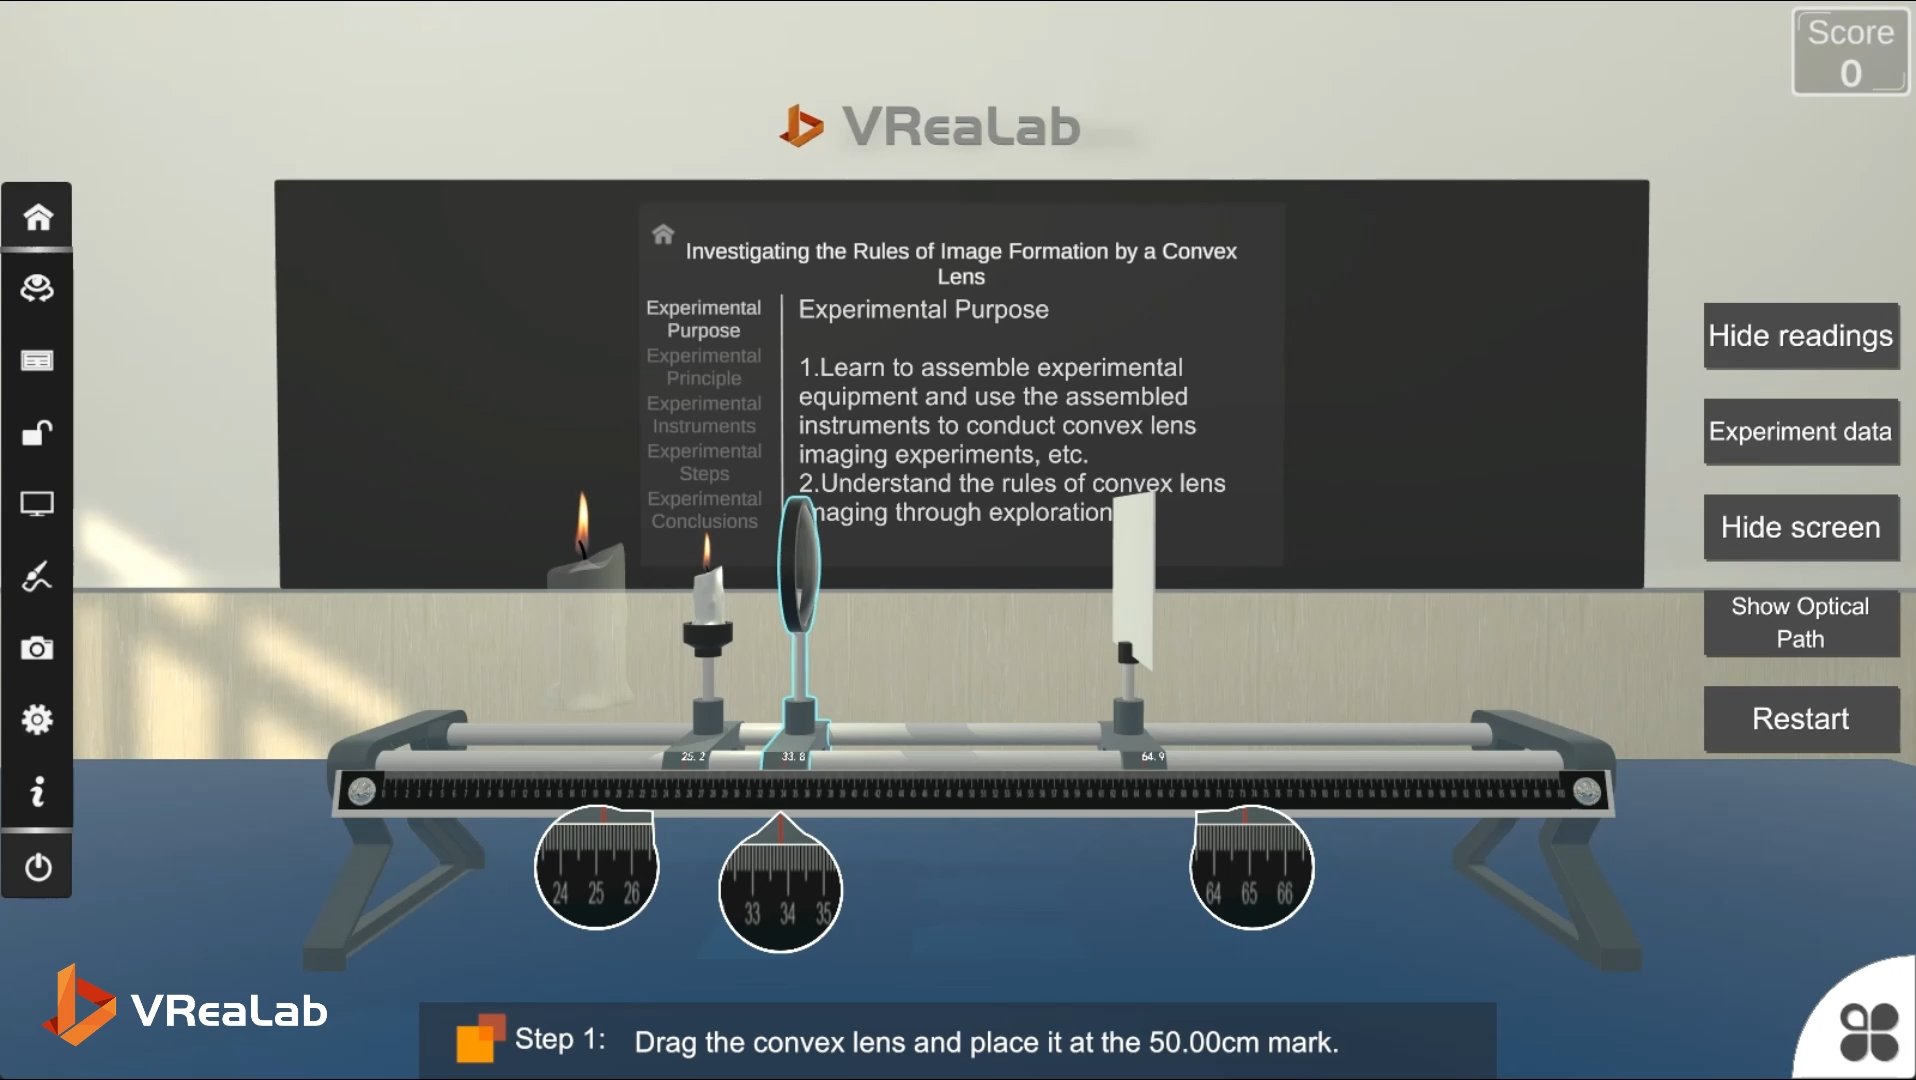
The experiment opens with the classic setup: a candle, a convex lens, and a white screen mounted on an optical bench with a millimeter scale. In the VR scene, students drag the lens to the 50.00 cm mark as guided, then position the candle and the screen. Every placement is checked in real time, and the experimental purpose is displayed on the blackboard: learn to assemble and use the instruments, and understand the rules of convex lens imaging through exploration. Assembly, which in a physical classroom consumes a quarter of the period and sometimes the students' patience, becomes a two-minute task that leaves more time for thinking. Nothing tips over, no bulb burns out, and a mistake costs nothing but a click.
Step Two: Let the Data Reveal the Rules
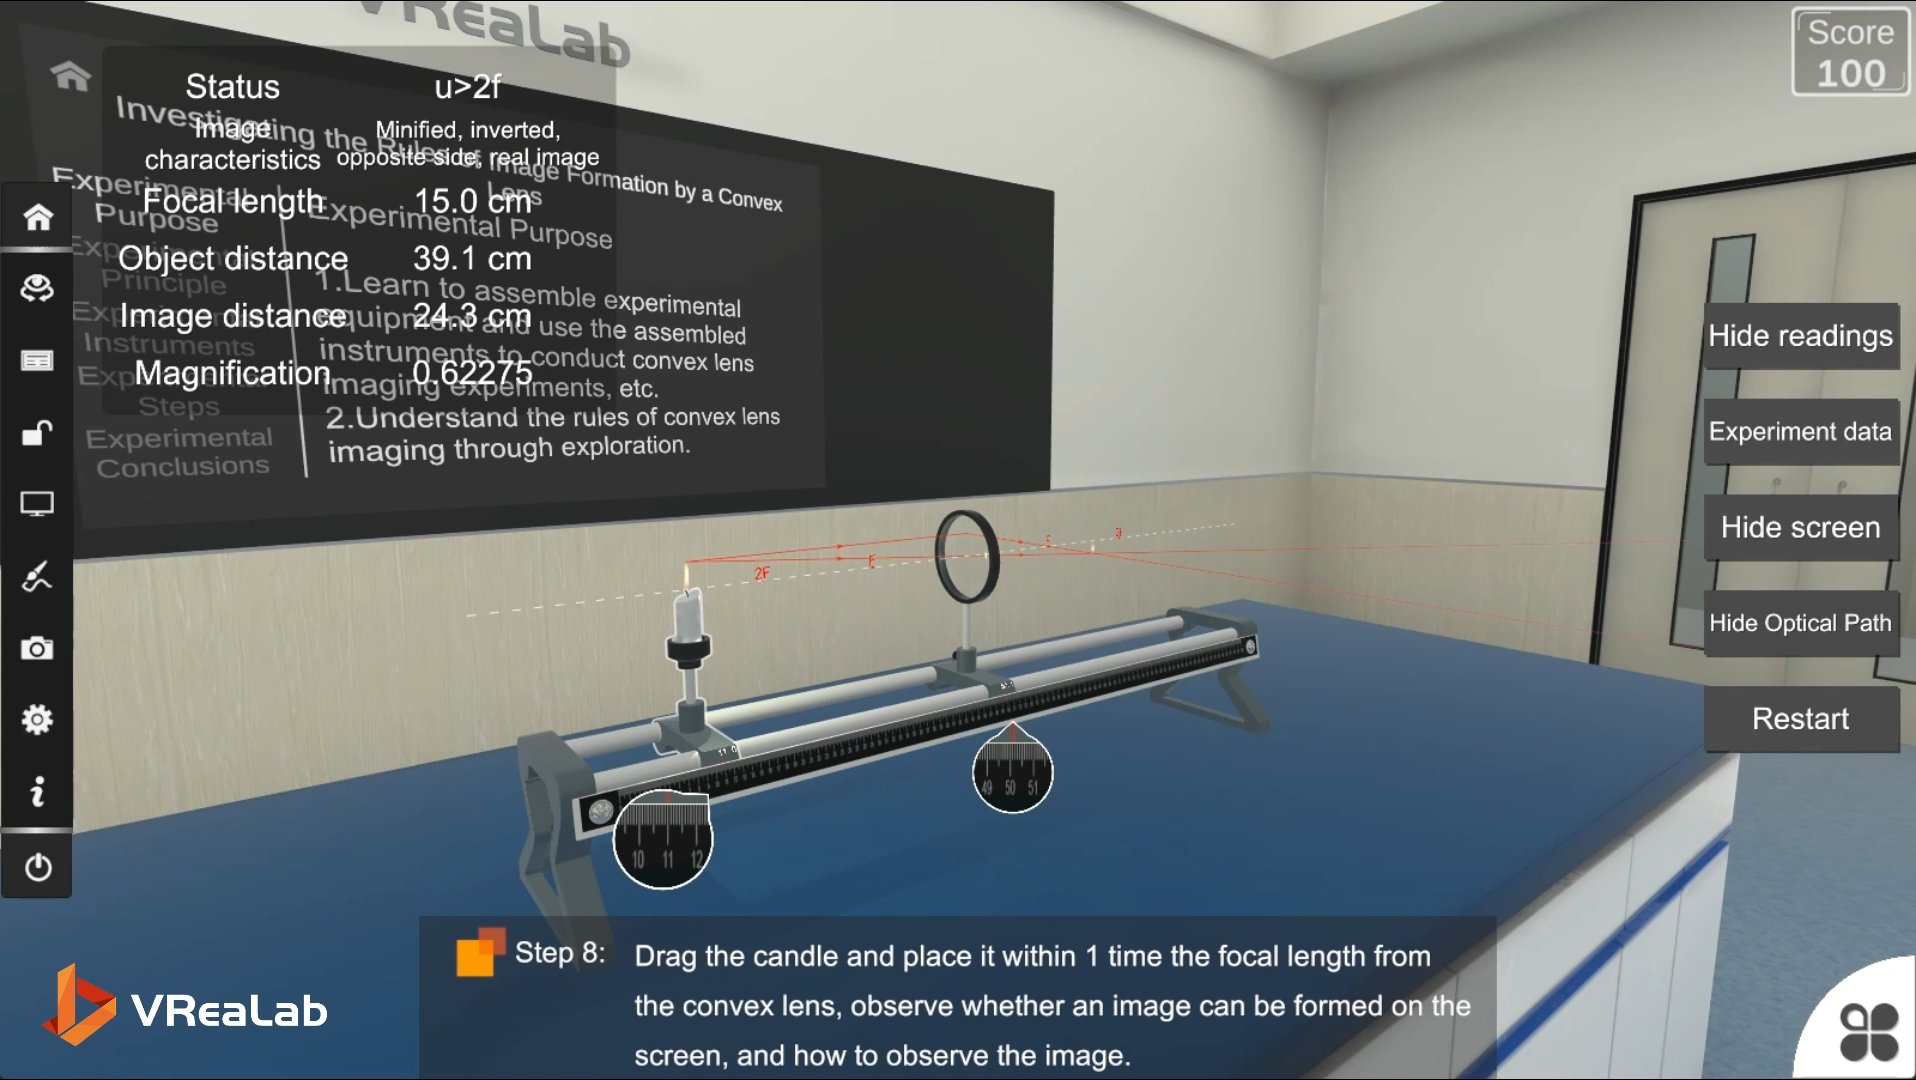
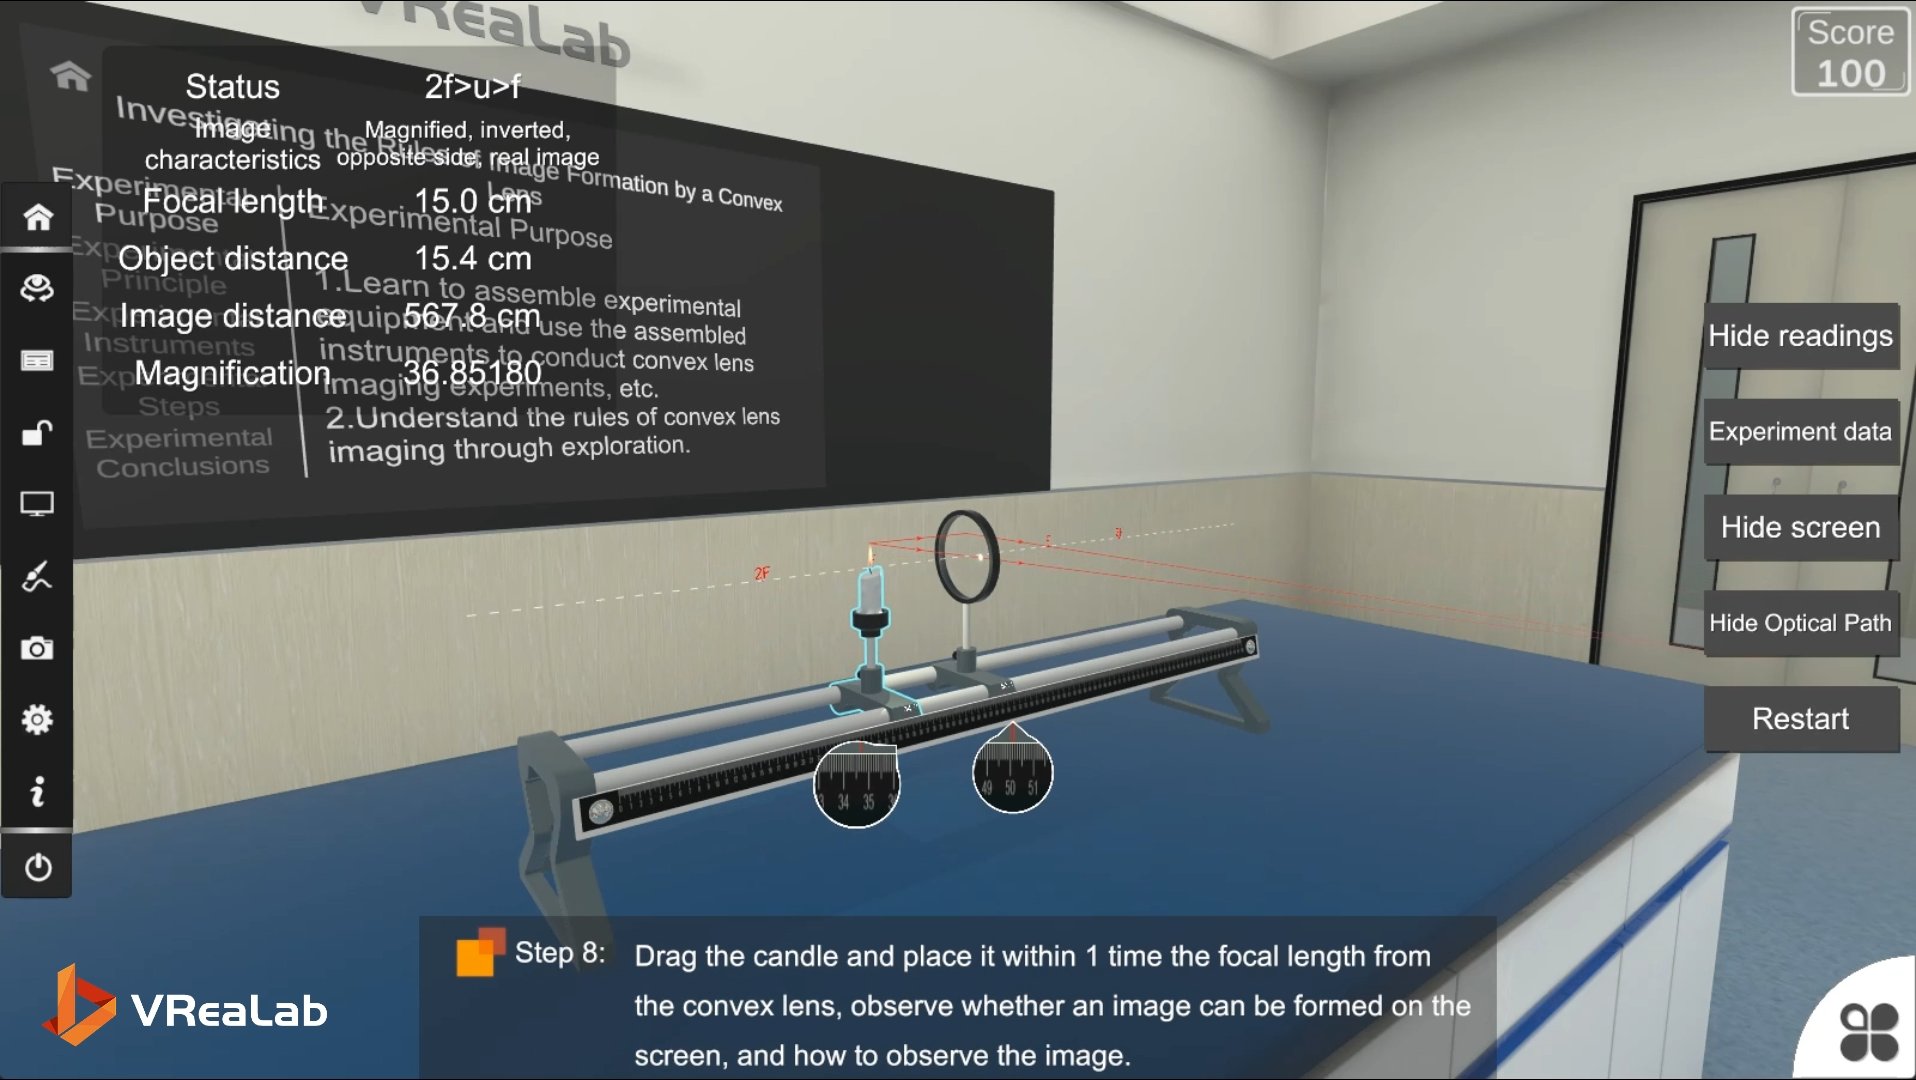
The decisive feature of this Virtual Lab is the real-time data panel. Focal length, object distance, image distance, magnification, and the current imaging status are all displayed numerically as the student drags the candle. Move the candle to 39.1 cm with a 15.0 cm lens, and the panel reads: status u greater than 2f, image distance 24.3 cm, magnification 0.621, a minified, inverted, real image on the screen. Move it closer, to 17.4 cm, and the status flips to between one and two focal lengths: image distance 109.8 cm, magnification 6.31, a magnified, inverted, real image. Push it just past the focal length, to 15.4 cm, and the image distance surges beyond five meters, with a magnification of more than thirty. The rule is no longer a sentence to memorize; it is a pattern students have watched unfold with their own eyes. Because every trial is instantaneous, a class of forty can run dozens of interactive science experiments in a single period, and the data table they build is honest evidence rather than copied results.
Step Three: Make the Light Itself Visible
Beyond the numbers, the software draws the optical path: rays from the candle tip, refracted through the lens, converging exactly where the screen shows the image. Students can toggle this path on and off, hide the readings to test themselves, and restart the experiment in seconds. The red ray diagram turns refraction from an arrow on a blackboard into a live event, which is precisely what a Virtual Lab is meant to achieve. When the imaging rules have been discovered rather than dictated, the follow-up lesson needs no re-teaching.
What the Visualization Changes for Learning
The pedagogical value of this design lies in the pairing of phenomenon and number. In a traditional demonstration, students see the image on the screen but never the magnification that quantifies it; in a worksheet, they see numbers but never the candle moving. Here the two travel together, so the classification of image types, real or virtual, magnified or minified, inverted or upright, attaches itself to a memory of motion. The experiment also removes the fear of the extreme cases. Students can deliberately place the object exactly at the focal point and watch the refracted rays emerge parallel, or push inside one focal length and confirm that only a magnified, upright virtual image remains, observable through the lens but never caught on the screen. These boundary cases are where misconceptions live, and they cost nothing to explore in the virtual world.
Conclusion
By combining precise virtual apparatus, a live data panel, and a visible optical path, this VR Physics Lab module turns the rules of convex lens imaging into something students observe, measure, and explain on their own. The abstract becomes visual, the invisible becomes measurable, and one more piece of middle school physics settles into place for good.